Power Macintosh Upgrades
written: 04 Oct 2019The Power Macintosh... once the workhorse of Apple's lineup, and the first to use PowerPC processors. Now, their place has been overtaken by the Mac Pro, which as of writing has had... a rough past few years.
But I'm not here to talk about the Power Macintosh or Mac Pro has a whole, I'm here to talk about the two I own at this time. These two are a Power Macintosh 7200 and a Power Mac G4. The 7200 is a 75 MHz model with a 500 MB hard drive and who knows how much RAM. The G4 is a FireWire 800 model with dual 1.25 GHz G4 processors and currently has 2 GB RAM. It shipped with 256 MB and when I got it, it had 1.25 GB RAM. The G4 teeters on the verge of modernity, however, there was one thing that was really holding it back: the fact that it only had two USB 1.1 ports. Of course, one of these is taken up by the mouse and keyboard. If you're using the Apple keyboard it ships with, the keyboard itself includes 2 1.1 ports as a USB hub, but one of those is usually reserved for the mouse. So you get two USB 1.1 ports... and that's it.
For reference, USB 1.1 has a speed of 12 MBits/second. USB 2.0, the next iteration, is 480 MBits/second. That's a massive jump, and it's definitely noticeable. I've come to prefer using FireWire 400 in machines with only USB 1.1, since that's closer to 2.0 speeds. With that, though, I end up doing Mac-to-Mac since the only way I currently know how to do file transfers over FireWire is through target disk mode. So to get large amounts of files onto my iMac G3, I end up doing modern computer -> iMac G4 via Ethernet, and then iMac G4 -> iMac G3 via FireWire (I'm not sure if the ethernet port works on my G3).
Luckily, the Power Macintosh has another option: PCI slots. And, thankfully, USB 2.0 PCI cards are common. In 2017, I picked one up with 4 USB 2.0 ports for about $8 to stick in my Power Mac G4. I was recently digging through some old files and found the pictures I took of the upgrade process, so here they are for posterity:
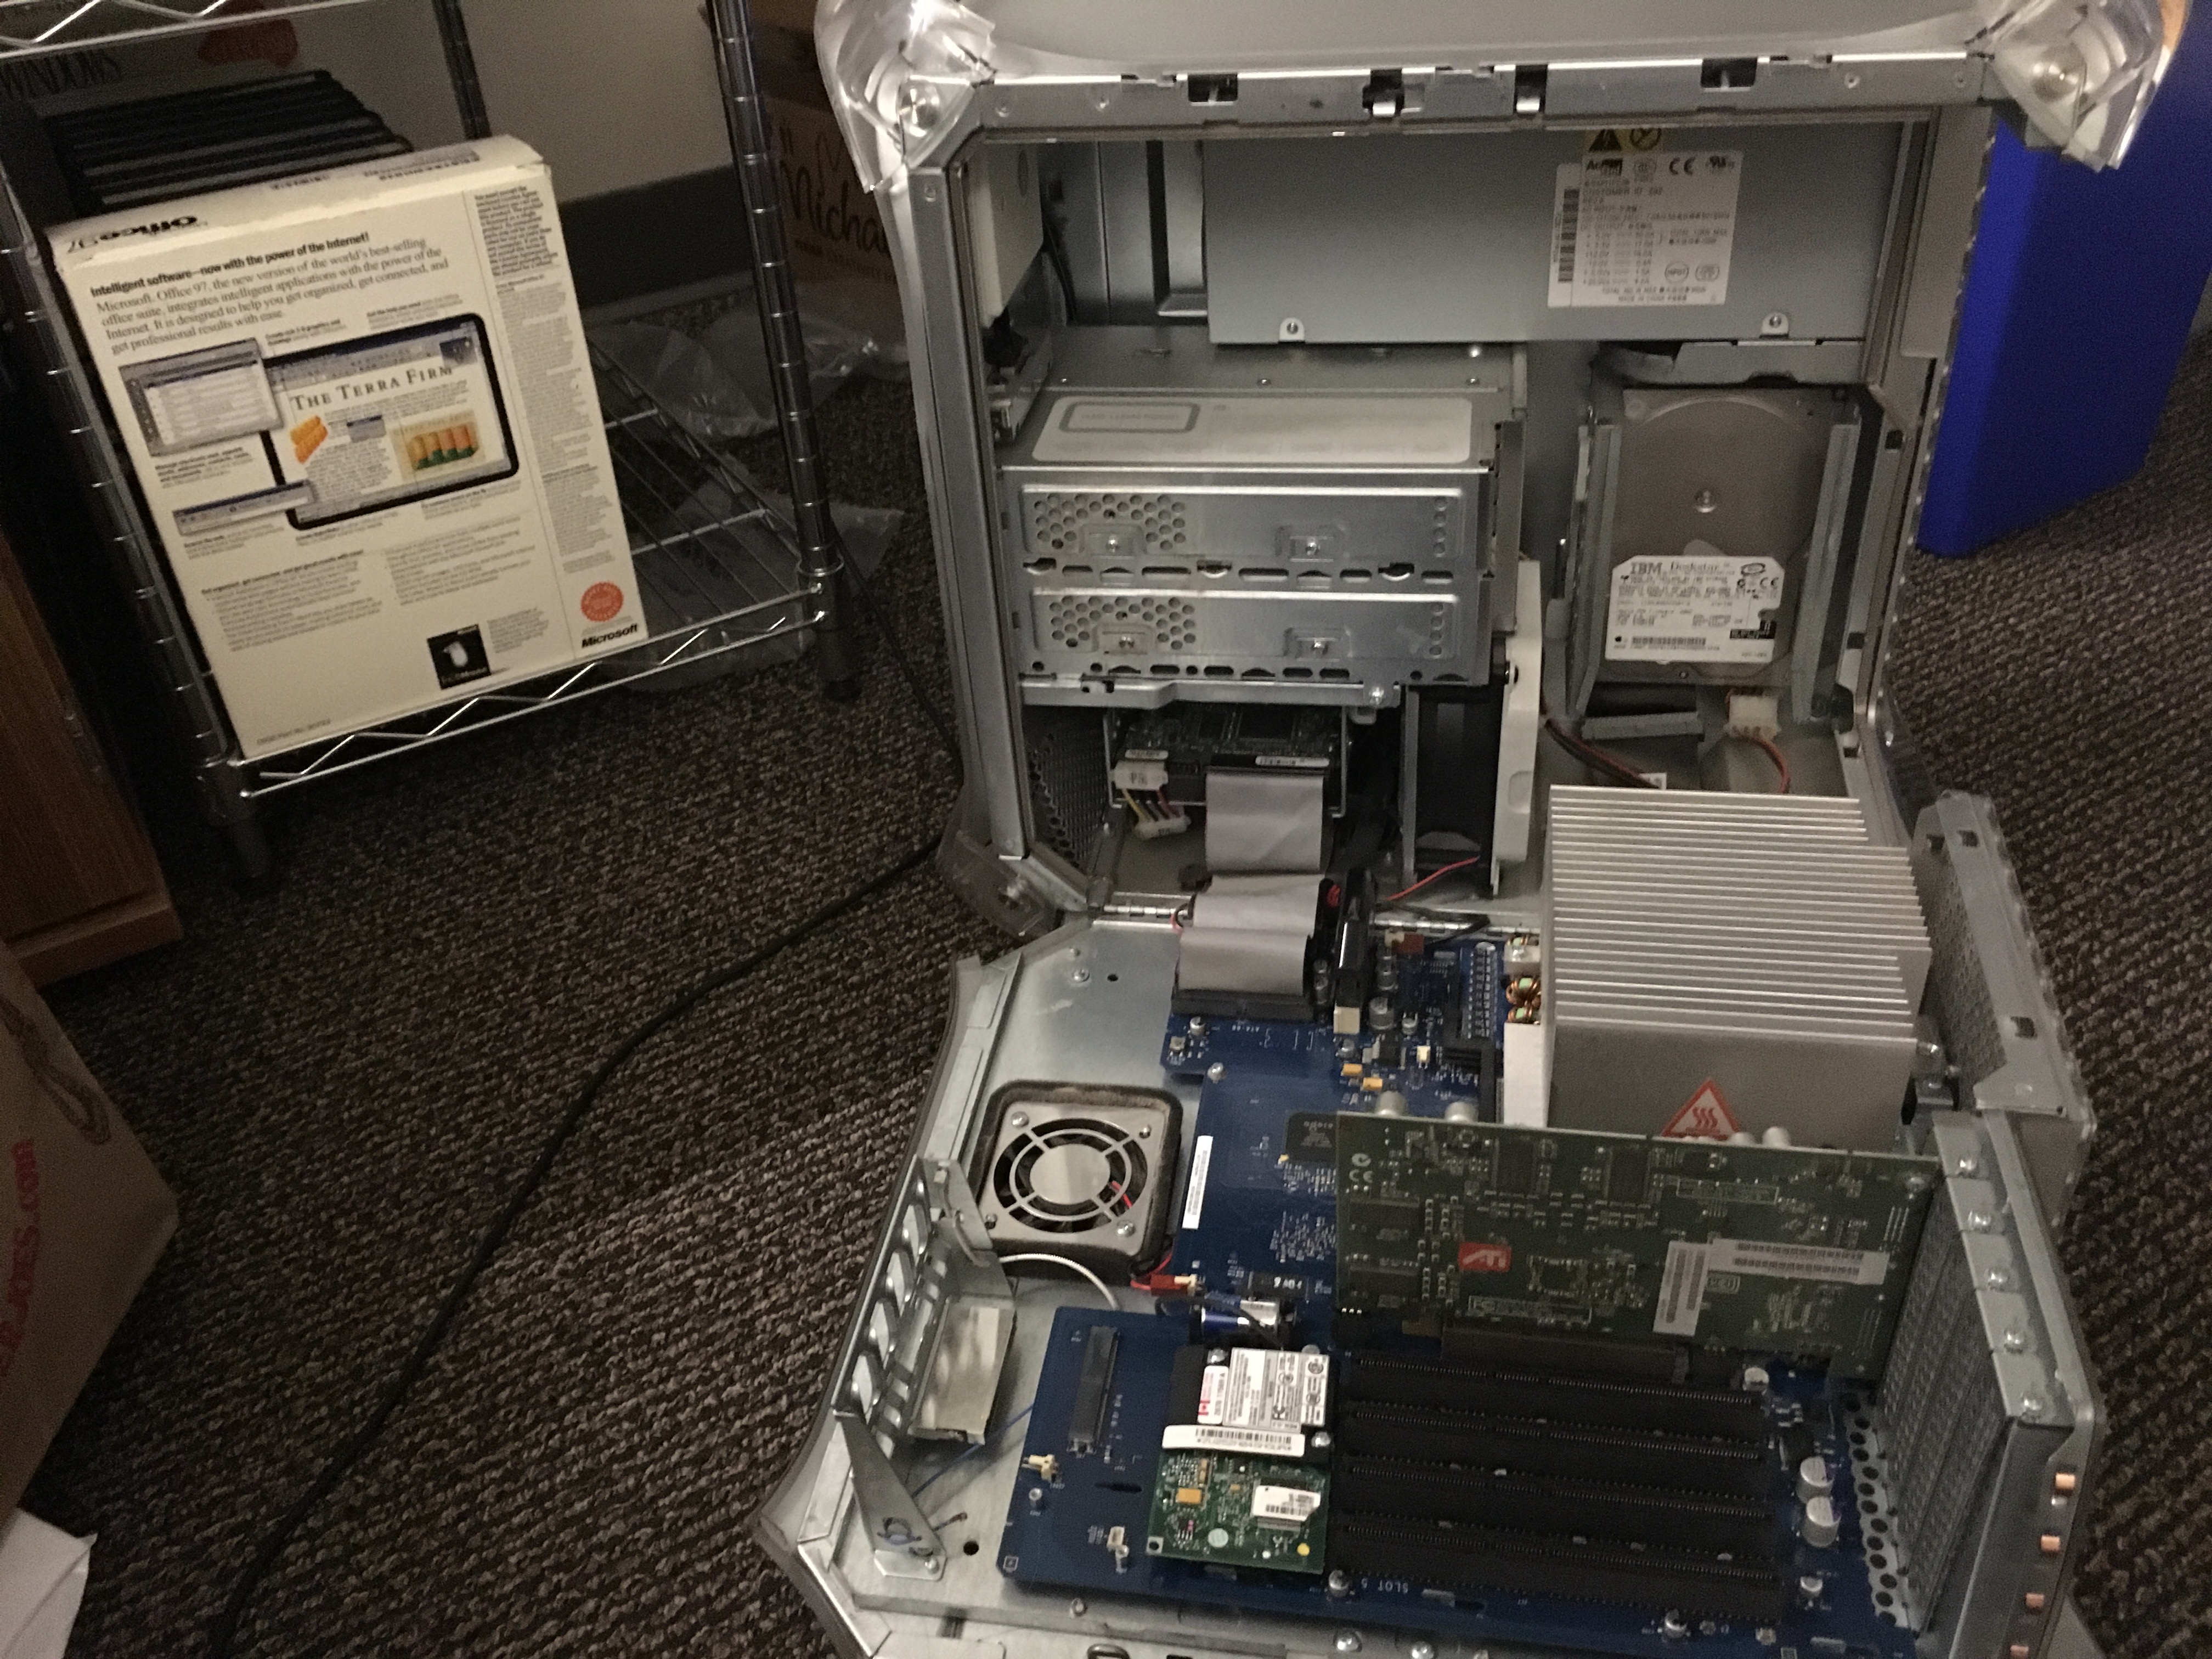
The Power Mac G4 opened. This is probably the easiest computer I've ever opened. You just lift up a handle and the side swings open.
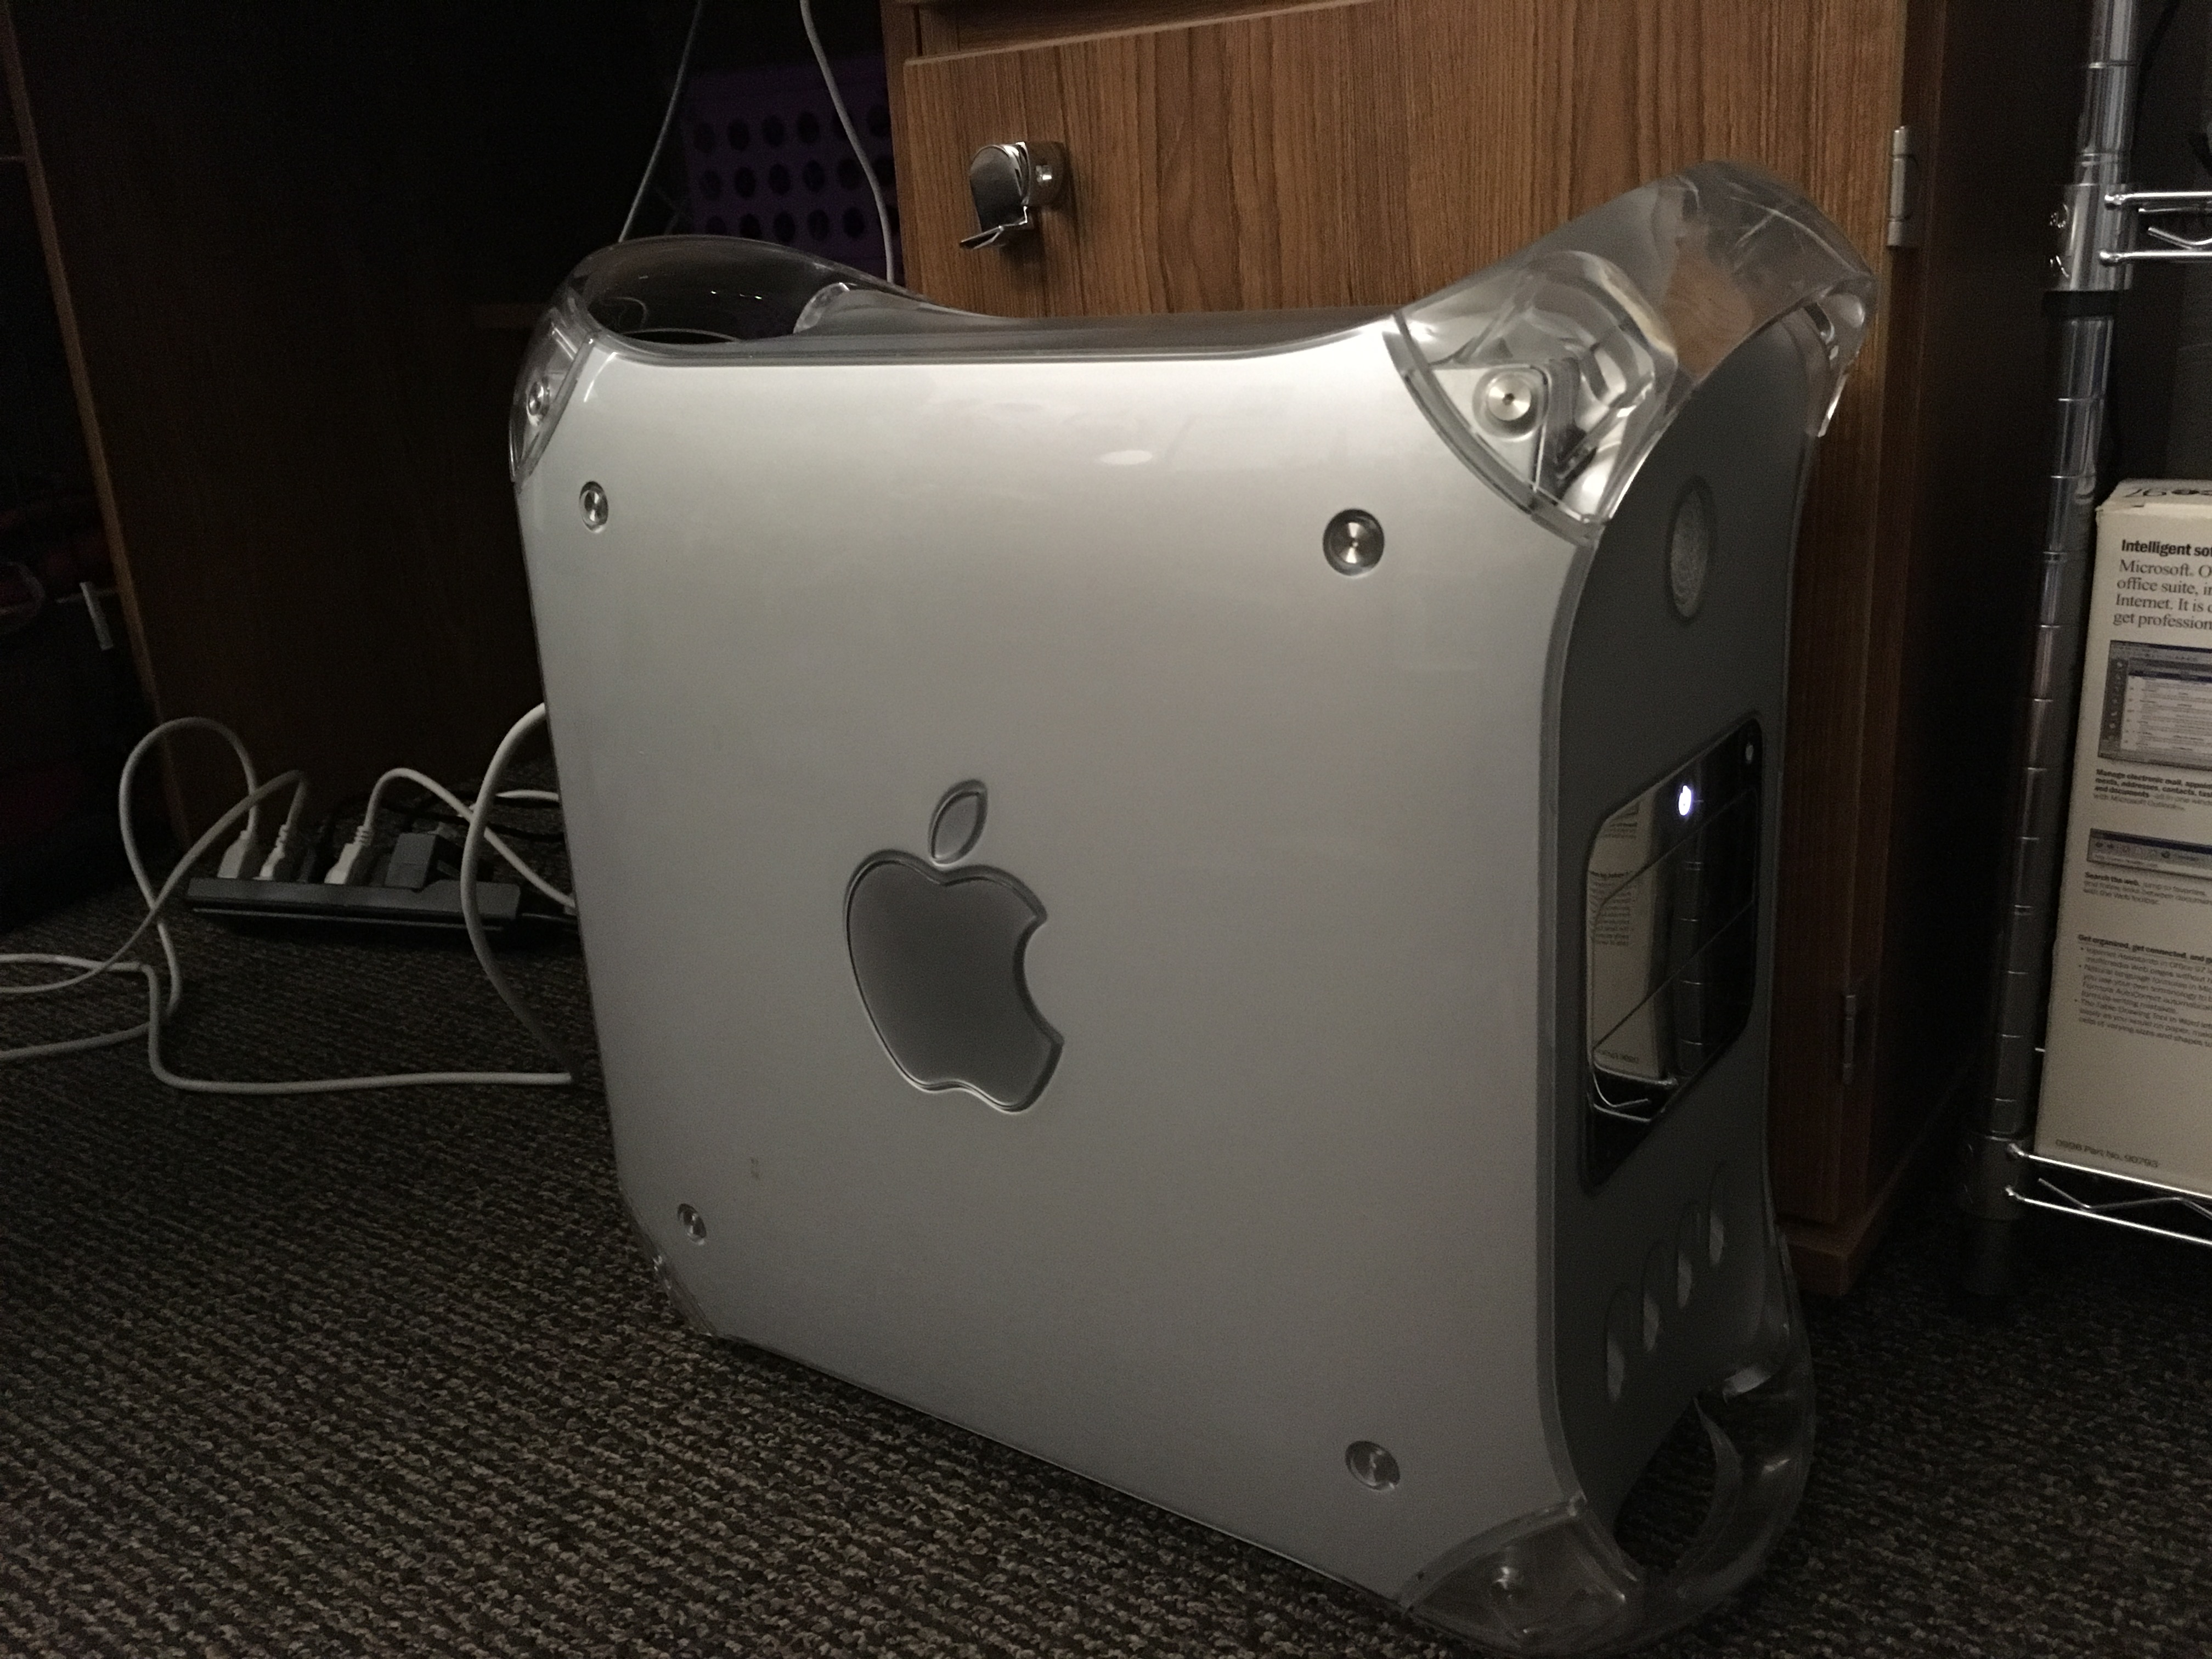
This is the Power Mac plugged in and running. I believe this was when I first got the Mac. At this point it does not have the USB card.
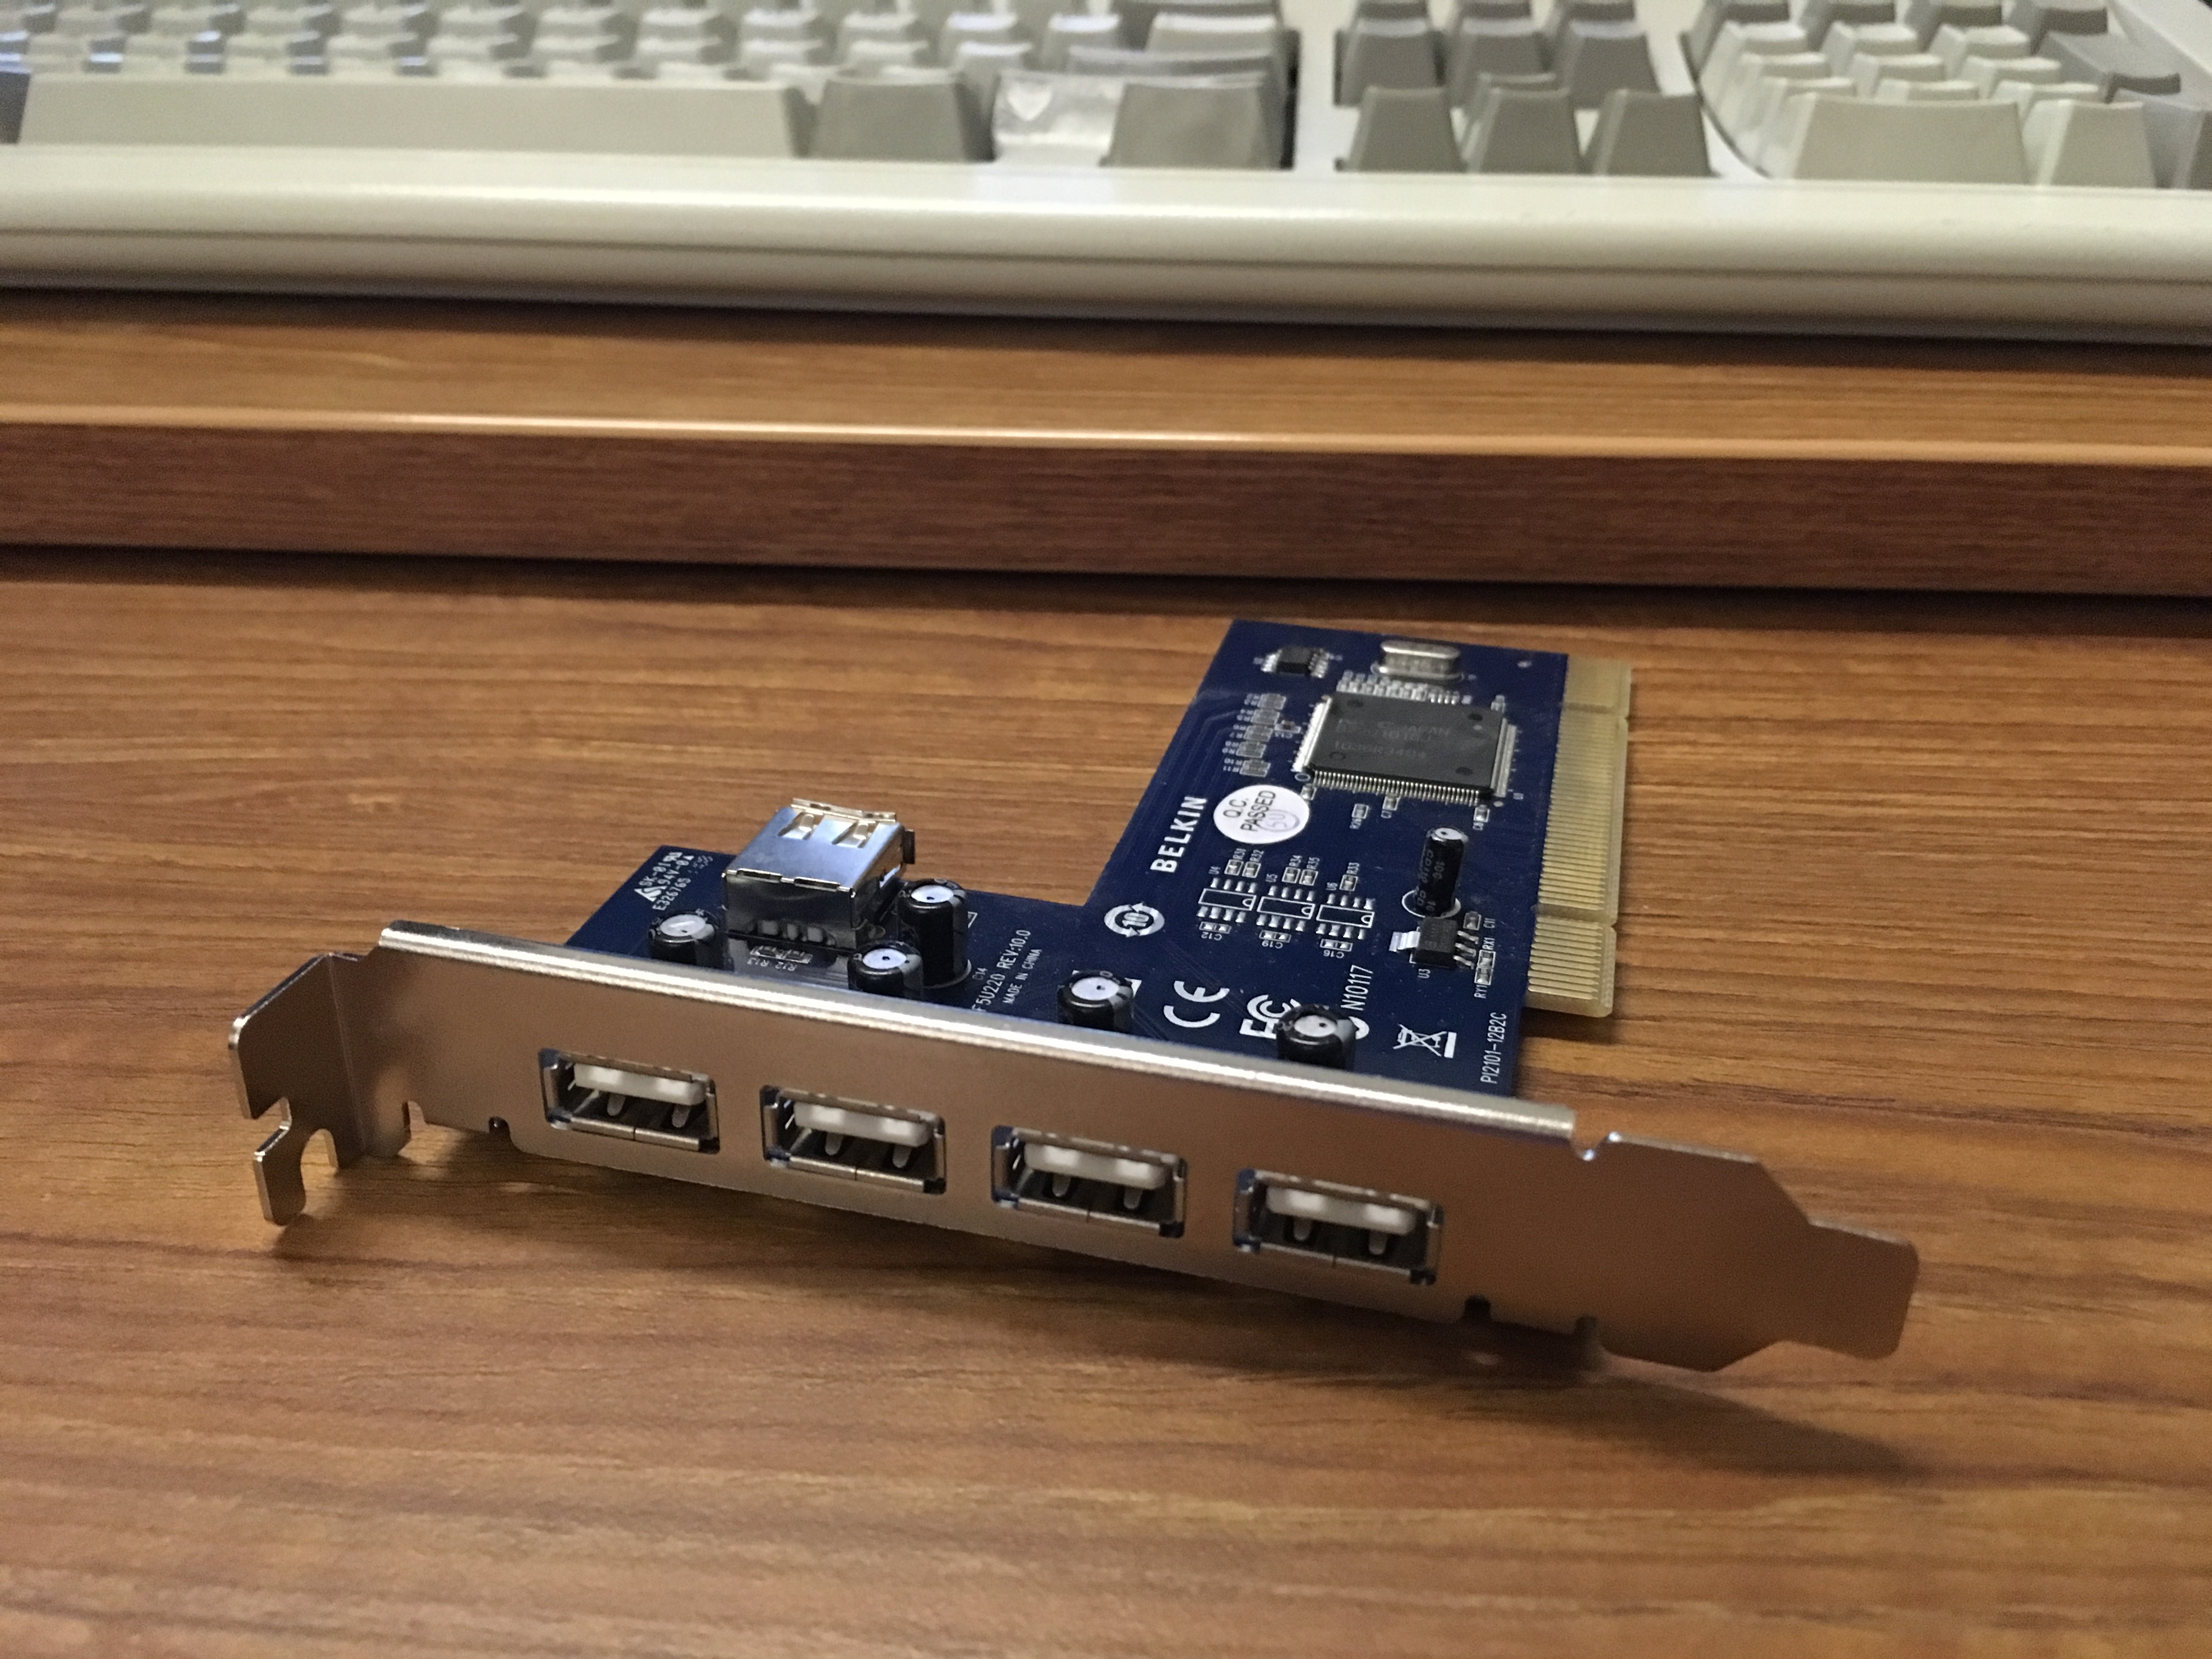
This is the USB 2.0 card. I got one with a NEC chip because that was the one reported to have the best compatibility with Macs. It's still a bit wonky at times, but the whole Mac itself is wonky.
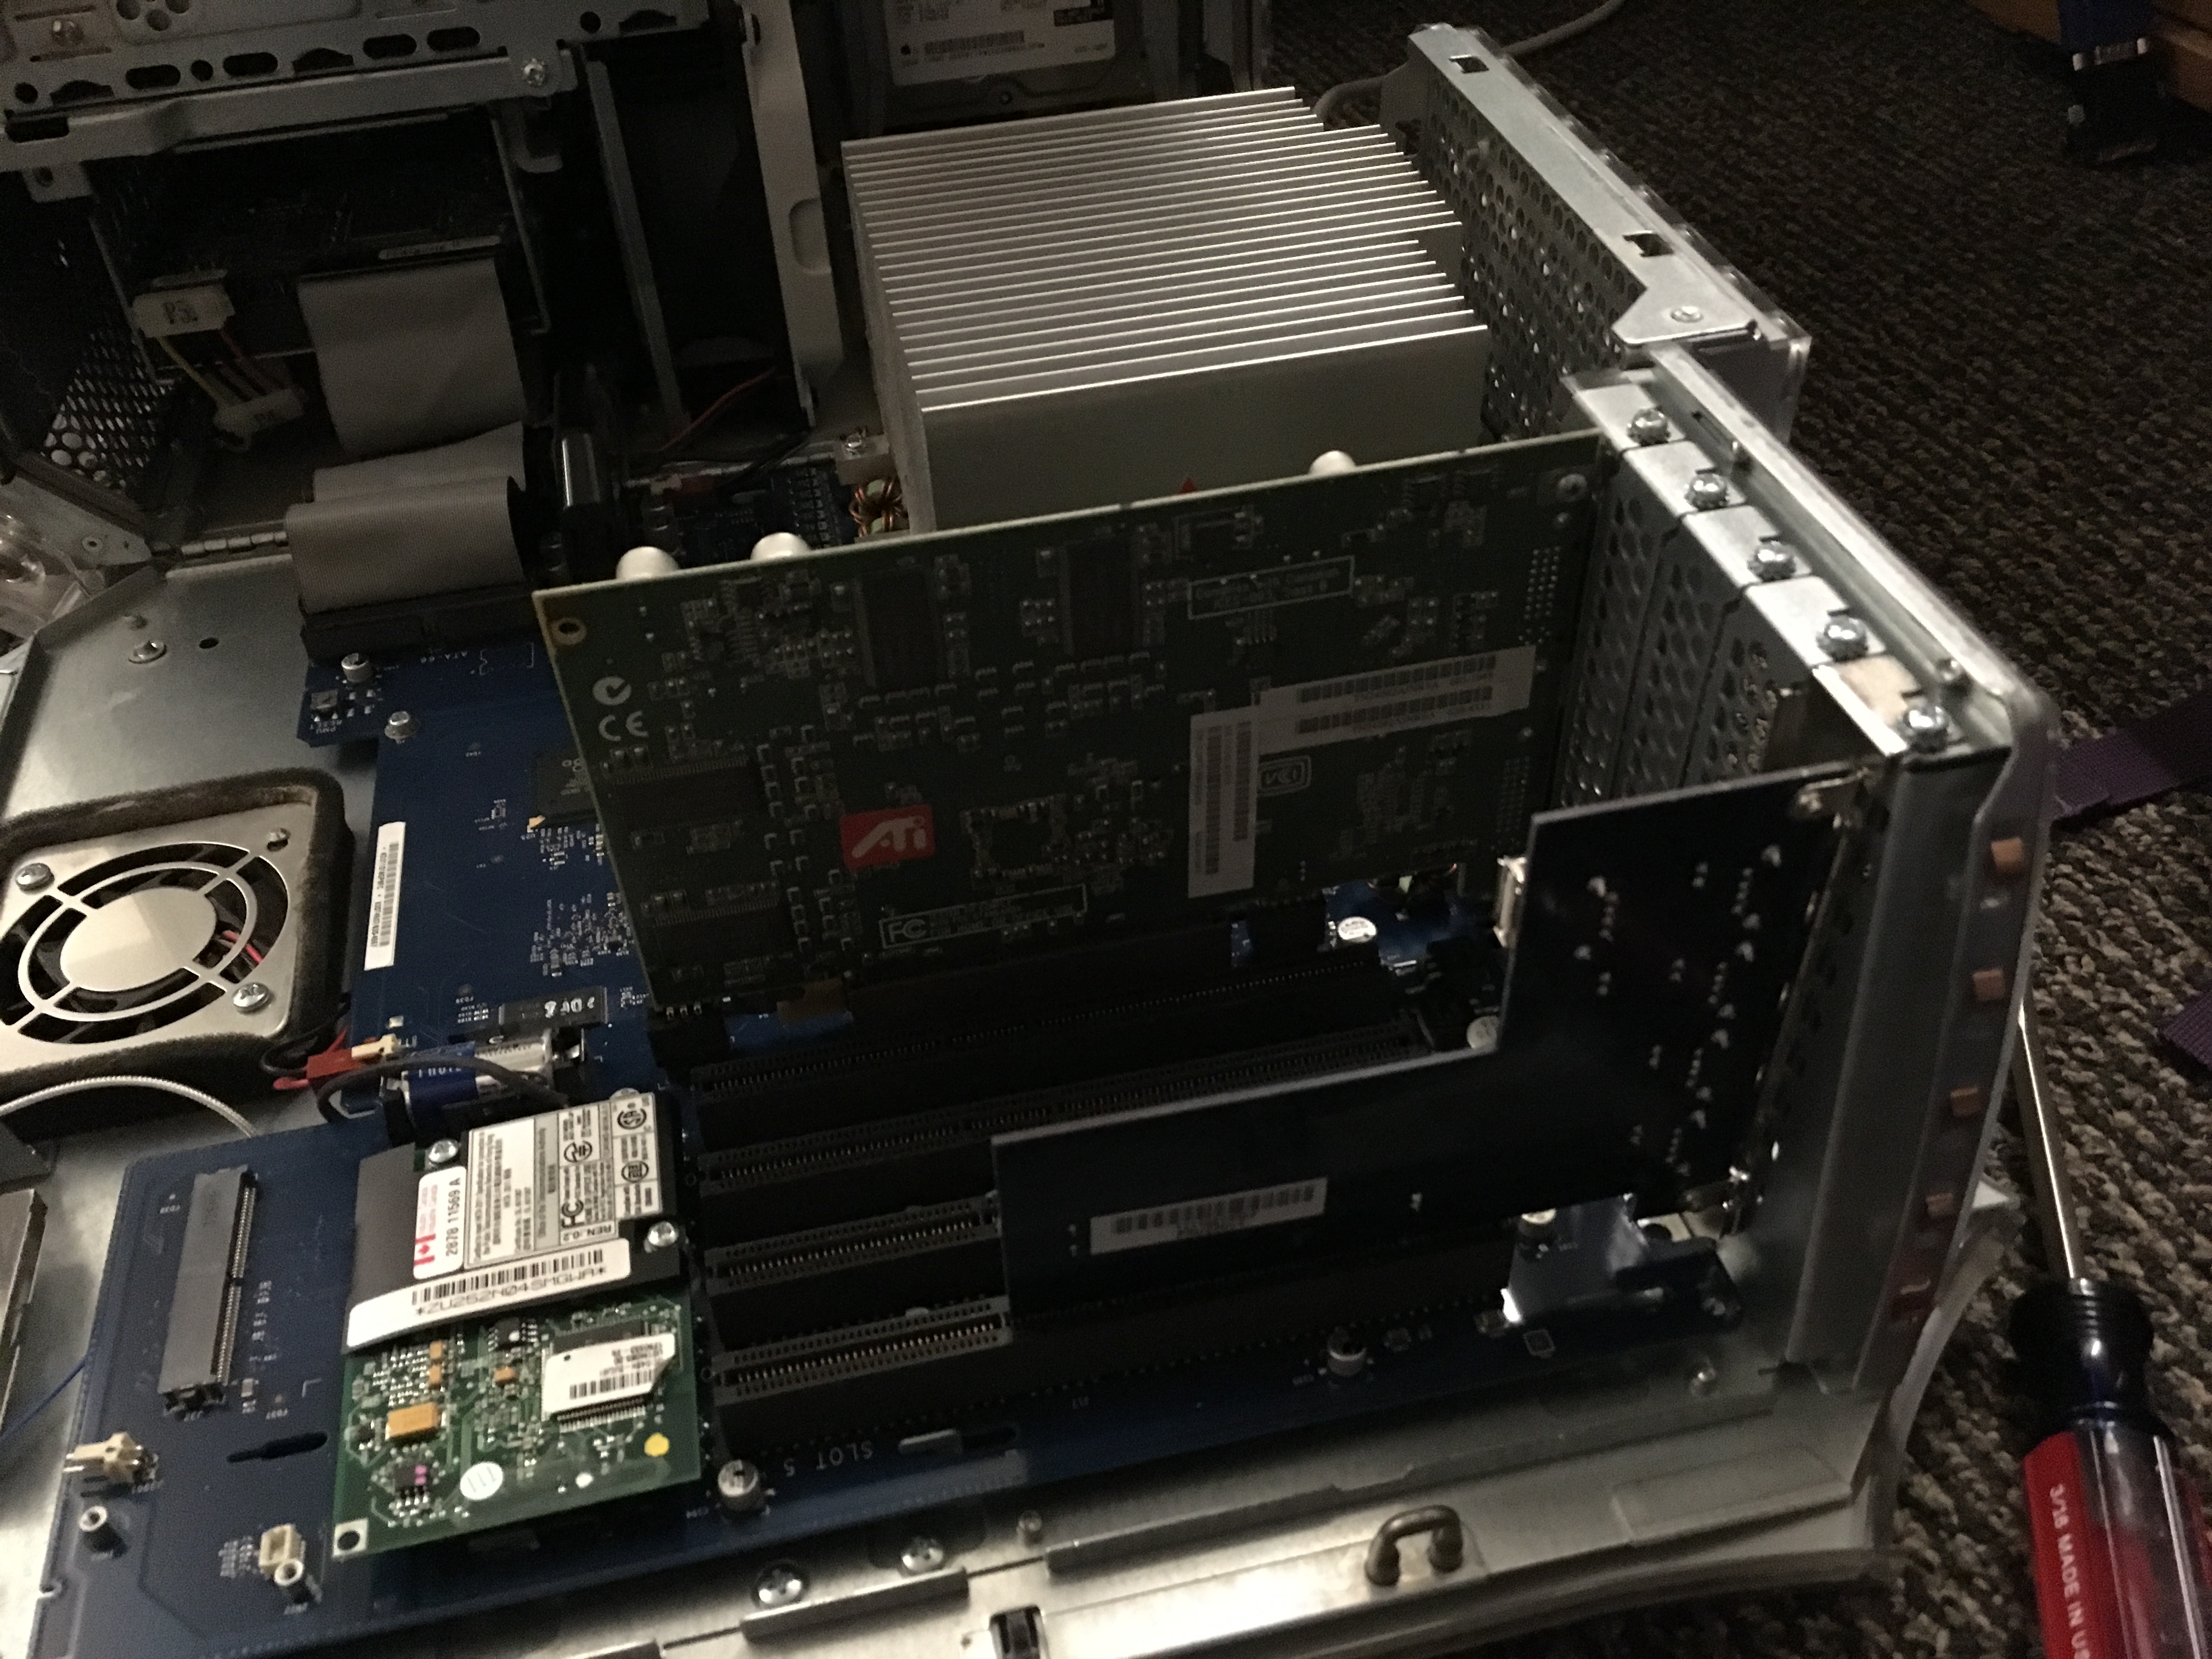
The USB card just sticks in the slot (once you remove the... whatever the metal thing is covering the slot on the outside). You can see the card closest to the camera, the other card in the back is the video card (which is AGP, not PCI, and you don't want to remove that anyway).
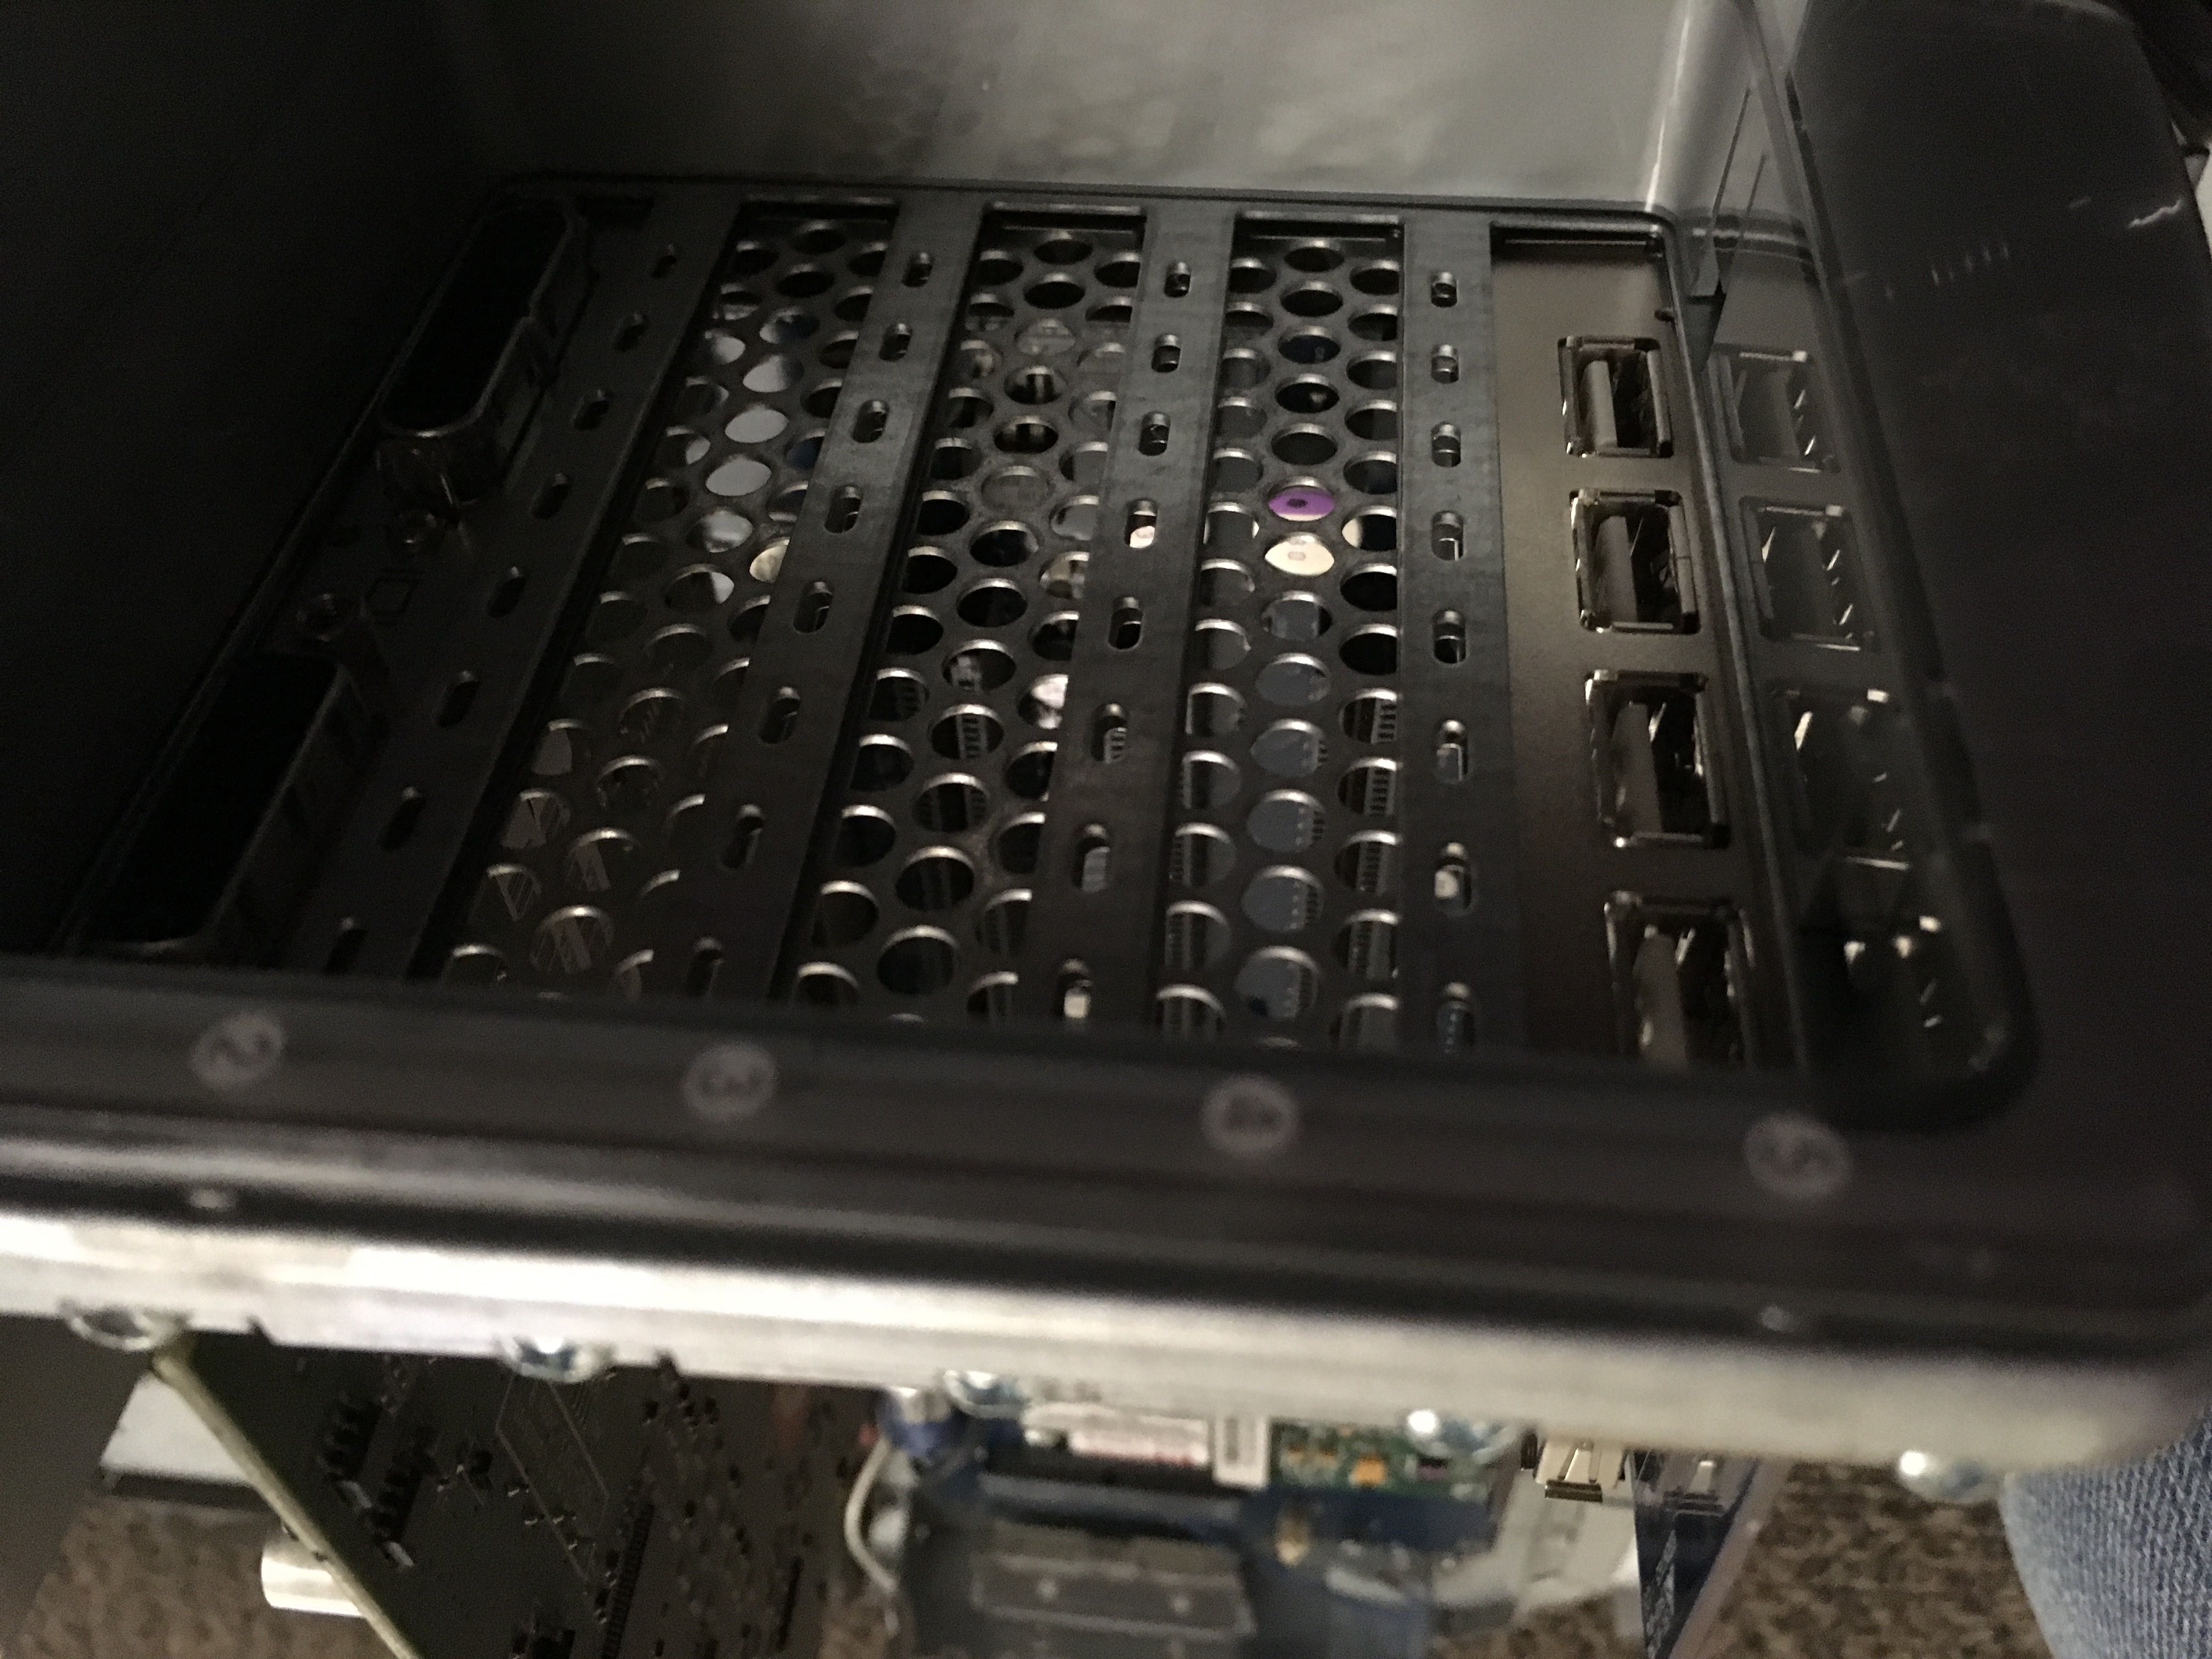
The Mac about to be reassembled with the four new USB ports in the back. Looking back I should've probably moved the card a couple slots down, up at the top it can be a bit difficult to fumble around and plug flash drives and cables in.
I did do another upgrade to this Power Mac eventually, which was to replace the 256 MB stick of RAM with a 512 MB one and stick another 512 MB one in the empty slot. That was fairly straightforward, and frankly this USB card installation was too.
As for my other Power Macintosh, the 7200, I haven't done much upgrades to it yet. Most of what I've done has been replacements. I had to replace both the CD drive and the floppy drive since neither worked, and I also replaced the PRAM battery today. I have other computers where I haven't bothered replacing the PRAM battery, but this looked easy to replace (and source a battery) so I figured I might as well, even if the only difference is it actually remembering the time.

The victim Power Macintosh opened and the drive bays moved out of the way. This case is fairly easy to work in too, the drive bay and PSU enclosure can just be lifted up and to the side. You can see the battery in the lower right-hand corner in the green and pink.

I ordered a two-pack of batteries from this other brand because it was cheaper. The Power Macintosh 7200 takes a 3.6 V 1/2 size AA lithium battery.

This turned out to be out of focus but here is the battery and the cage. The cage is just a plastic thing that sits on top of the battery, and you need to remove it to get to the battery.

The hardest part of all this was actually prying the stupid cage loose. I think I technically broke it, this thing is brittle plastic after all, but I don't really care since it still functions. Just isn't as tightly held on as it used to be. Also, again, this is way out of focus. I'm not a photographer.

The battery just pops out, and here it is next to the new one. They're both the same size so that's a good sign.

The new battery in place with the cage resting on top. I kind of liked the colors of the old one better but I'm not actually going to be looking at this so it doesn't matter.

Put the thing back together and it runs (which it thankfully did before). It also remembers the time once I cut power, which is what I was aiming for.
I have some additional screenshots but I'm still not sure how to convert System 7 screenshots to PNG, so I'll have to upload those once I find out. And of course, I didn't bother checking the amount of RAM this has installed even though I still wonder. I will get to that... eventually...


